TP-Link Router Setup: A Step-by-Step Guide
In the digital realm, having a credible and secure internet connection is very important. In this scenario, TP-Link routers step in. Meanwhile, if you want to ensure a seamless internet experience, it is a must for you to do the TP-Link router setup.
Over the years, setting up Wi-Fi routers has become very easy. But the matter of worry is- how to set them up in the best way. For this, you have to delve a little deeper into this blog post. Once you explore the content given, you will come to know about the fundamental steps to configure your router as well as optimize your wireless network.
Let’s get started!
How To Setup a TP-Link Router?
Simply put, realizing the methods of setting up your TP-link router is essential for you to maximize your home network’s performance. It is required for you because it will let you know the setup procedure, the way to access its user-friendly interface, customize network settings, enhance security, and more.
Let’s have an overview of the key steps involved in the TP-Link router setup procedure so that you will be able to take advantage of this powerful tool and create a trustworthy & secure internet experience for yourself as well as for your loved ones.
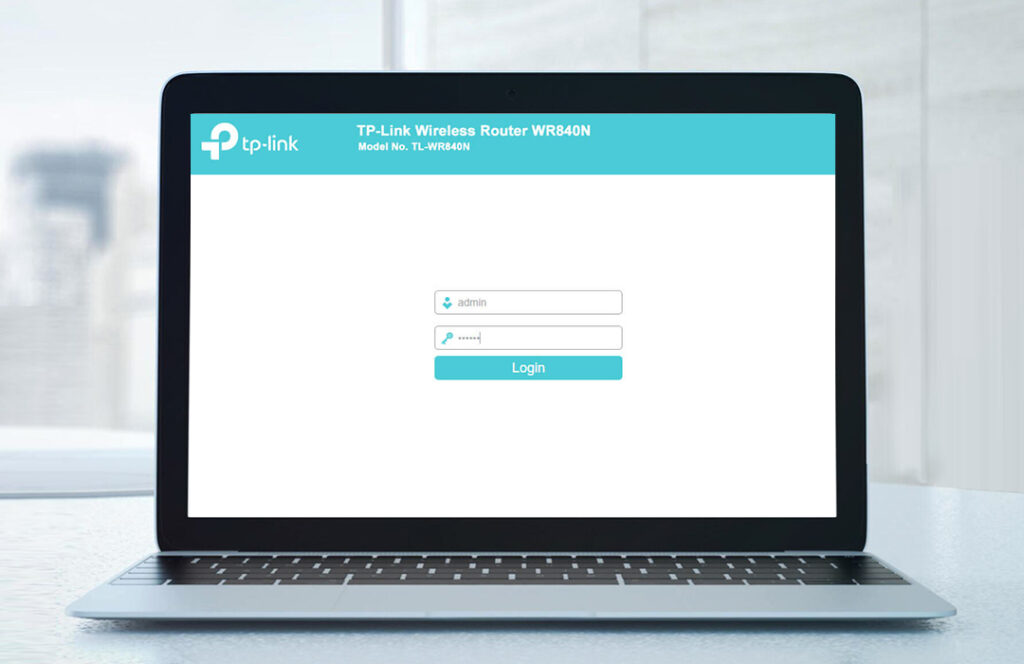
Setup Through The Web Interface
- Use an Ethernet cable to connect your computer to any available “LAN” port on the router.
- You can also connect wirelessly using the default SSID and password listed on the router’s label or in the user manual.
- Open a web browser (e.g., Chrome, Firefox, Safari).
- Enter the default access address in the address bar tplinkwifi.net.
- Log in with the password you set for the router during the initial setup.
- In the last step, follow the on-screen instructions to complete the setup process.
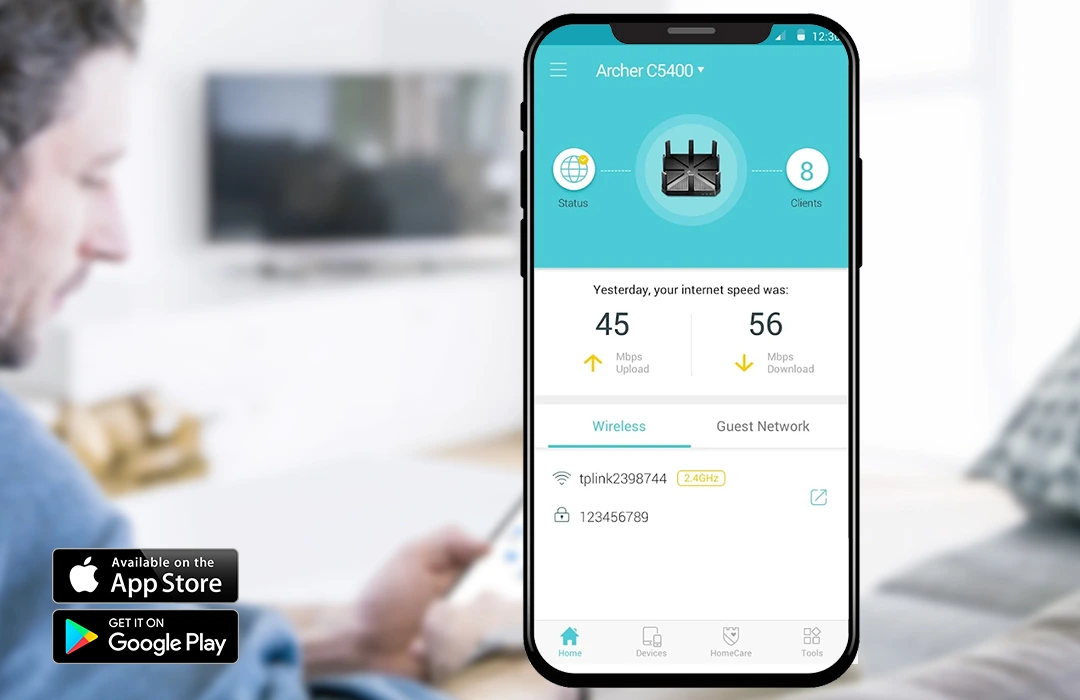
TP-Link Router Setup Using The App
- Download the Tether app on your smartphone.
- Next, log in with your TP-Link ID.
- Follow the instructions to set up your router.
- You can also perform additional configuration-
- Create a guest network
- Manage IPv6 settings
- Explore other features via the TP-Link Tether App.
How To Setup TP-Link Router Password?
- Open a web browser (such as Chrome, Firefox, or Edge).
- Enter the default access address in the address bar- tplinkwifi.net.
- Press Enter.
- Log in using the admin password you set during the initial setup.
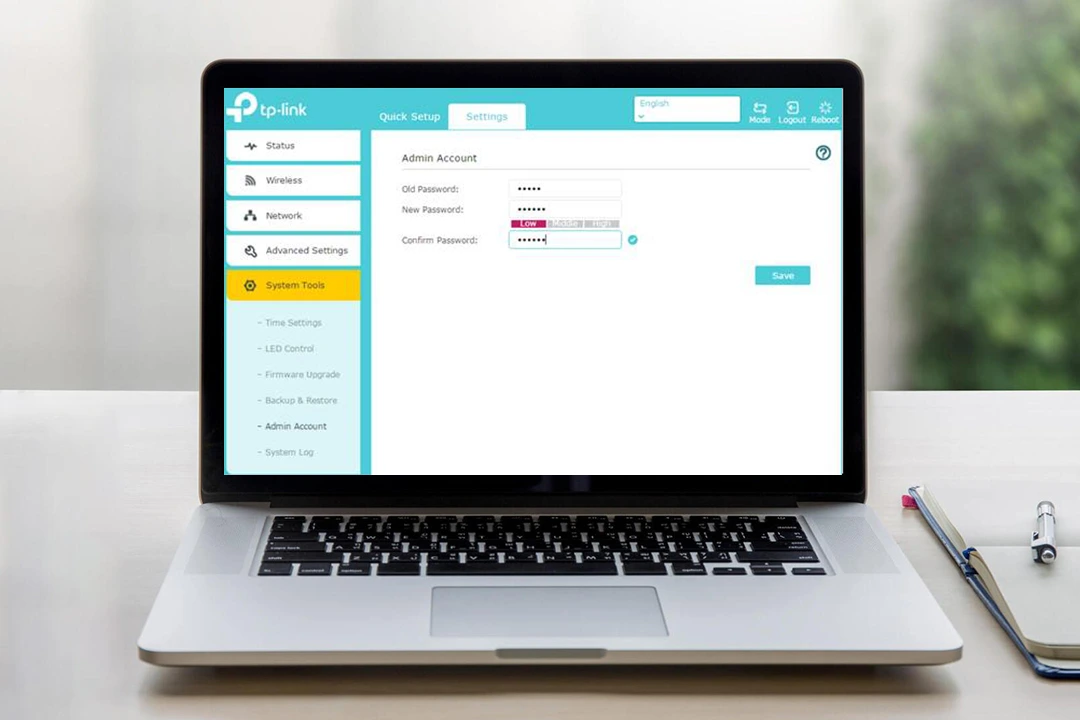
- Once logged in, navigate to the Administration or System Tools section.
- Look for an option to change the admin password.
- Enter a new strong password that should be a combination of uppercase, lowercase, numbers, and special characters.
- Save the changes.
- To change the Wi-Fi password, go to the Wireless or Wireless Settings section.
- Locate the SSID (network name) for the 2.4 GHz or 5 GHz band.
- Change the Wi-Fi password (also known as the pre-shared key or PSK).
- Save the new password.
One of the most important things to keep in mind while setting up the password for your extender is that merely a strong admin password can help you secure the settings of your router more effectively. In addition to this, you should also give preference to update your Wi-Fi password periodically for security reasons.
How To Setup a TP-Link Router As An Access Point?
If you are willing to set your TP-Link router up as an access point, but don’t have any idea about how to do it, you can have an overview of the steps involved in this procedure given below-
- Connect your TP-Link router to your existing network using an Ethernet cable.
- Plug one end into any available LAN port on the router and the other end into your network switch or existing router.
- Open a web browser -such as Chrome, Firefox, or Edge.
- Enter the default access address- tplinkwifi.net and press Enter.
- Log in using the admin password you set during the initial setup.
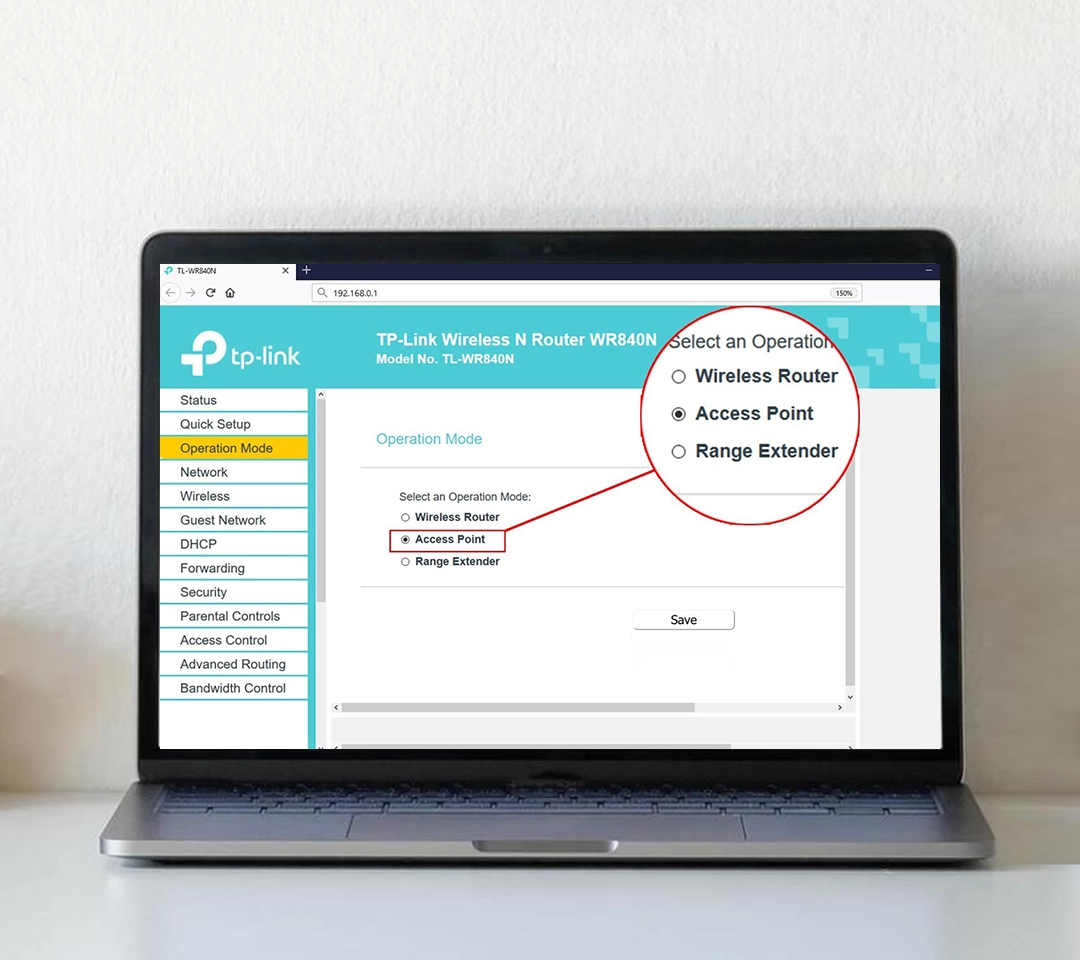
- Navigate to the Advanced or System Tools section.
- Look for an option to change the operation mode.
- Select Access Point mode and click Save.
- Go to the Wireless or Wireless Settings section.
- Set your desired SSID for the access point.
- Choose the appropriate security mode and set a Wi-Fi password pre-shared key.
- Save the changes.
- In the LAN or Network settings, disable the DHCP server.
- After saving the settings, reboot the router.
- Connect your devices to the new access point.
Make sure that you have chosen a strong Wi-Fi password to make it hard to crack by the hackers. Your TP-Link router is now functioning as an access point. Enjoy your extended network coverage.
Bottom-line
In a nutshell, after walking through the content given in this blog, you will surely be familiar with the complete procedure for TP-Link router setup. As a result, you might be able to realize the ultimate significance of managing and optimizing your home network. Now, it is certain that you will surely be able to set up your TP-Link router and its password as well.